Making Drawer Organizers For Mr. M. & Me
Mr. M.'s desk drawers are a nightmare, they really are. Kind of like my sewing
room, and when I hear him grumbling from behing the door
(along with a bit of colorful vocab), I feel his pain.
I have been doing some organizing and decluttering in my areas, and I
thought it was high time he reaped the benefits of my amazing talent for
building cereal box drawer dividers. Below is my ever-growing collection.

I made a template for a drawer divider that fits all three drawers of his desk, and they just happen to fit my vanity drawer (awesome!). The sides and bottoms of these
dividers are doubled up, just because I like them to be solid. That's just me being
finicky, which is another word for O.C.D., but I've learned to live with it.
Kind of.
The drawer sides are 3" high, so the sides of the box will be 2 3/4", and the
part that folds inward will be 2 1/2". I mark the cutting and folding lines on a
flattened box and use them as a guide for all the dividers.
Flattening the boxes makes storage easier,
and assembly a bit faster.

I score the fold line very lightly with my utility knife to make a nice crisp fold.

I cut a tiny bit off the ends so that the sides have
room to fold into the corners of the box.

The sides get hot-glued and folded inward.

Then the bottom gets glued back together.

I trace and cut the bottom, cut it out and hot glue it inside.

Here is my sweet hubby's nice organized drawer.

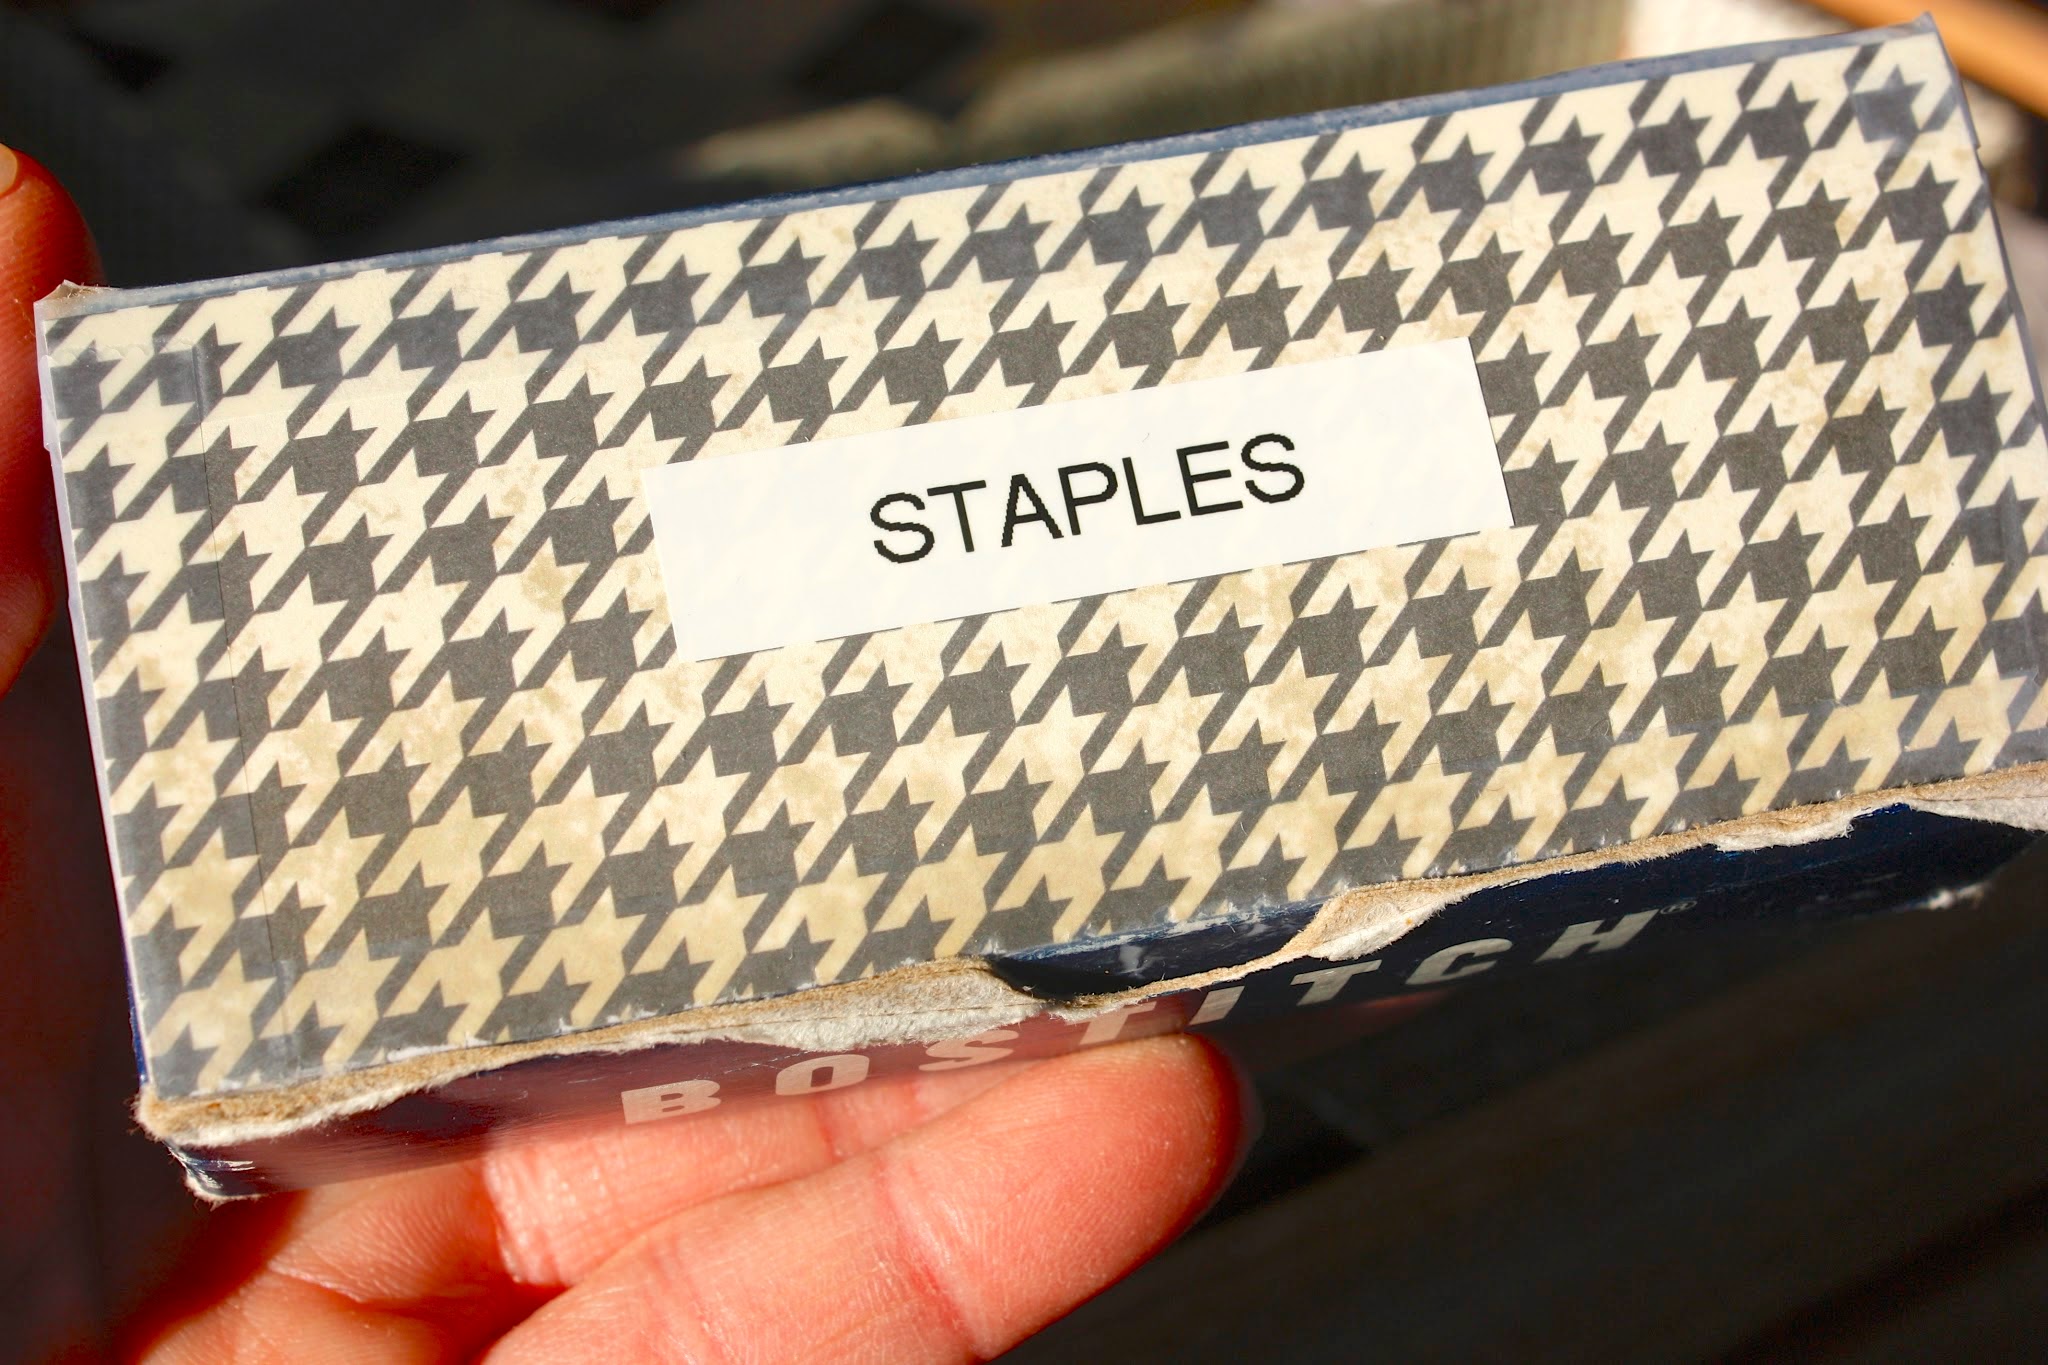
I glued a piece on top of the box of staples so it matched everything else,
and stuck a label on.
Then I got a little carried away and decorated the paper clip box!


Don't you just love this paper for a guy's office?
I chose it because it reminded me of houndstooth jackets and argyle sweaters.

Here's how I cover the rectangular boxes. Little fold-over pieces for the ends.

Then a wide piece, folded to fit inside and over the sides.

So it looks like this.

The square containers are from cracker boxes.
I centered the box on a full sheet of paper and traced around it.

Then drew lines all the way across, staying just inside the outline I traced,
because the paper box will have to fit inside. I made tabs to fold over and
glue to the adjacent sides.

I put the box together without glue to test the fit and trimmed the tabs so
that I could fold the paper down over the sides of the box.


I glued the paper to the outsides.

And there you have it; a pretty flowered divider!

Here's my vanity drawer, full of lovely little compartments!

I think I'll just admire them for awhile before I put everything back.
 Have a great day, and Happy Organizing!
Val
This post is linked here:
Brag About It @ VMG206
Sew Darn Crafty @ Sew Many Ways
Mr. M.'s desk drawers are a nightmare, they really are. Kind of like my sewing
room, and when I hear him grumbling from behing the door
(along with a bit of colorful vocab), I feel his pain.
I have been doing some organizing and decluttering in my areas, and I
thought it was high time he reaped the benefits of my amazing talent for
building cereal box drawer dividers. Below is my ever-growing collection.
I made a template for a drawer divider that fits all three drawers of his desk, and they just happen to fit my vanity drawer (awesome!). The sides and bottoms of these
dividers are doubled up, just because I like them to be solid. That's just me being
finicky, which is another word for O.C.D., but I've learned to live with it.
Kind of.
The drawer sides are 3" high, so the sides of the box will be 2 3/4", and the
part that folds inward will be 2 1/2". I mark the cutting and folding lines on a
flattened box and use them as a guide for all the dividers.
Flattening the boxes makes storage easier,
and assembly a bit faster.
I score the fold line very lightly with my utility knife to make a nice crisp fold.
I cut a tiny bit off the ends so that the sides have
room to fold into the corners of the box.
The sides get hot-glued and folded inward.
Then the bottom gets glued back together.
I trace and cut the bottom, cut it out and hot glue it inside.
Here is my sweet hubby's nice organized drawer.
I glued a piece on top of the box of staples so it matched everything else,
and stuck a label on.
Then I got a little carried away and decorated the paper clip box!
Don't you just love this paper for a guy's office?
I chose it because it reminded me of houndstooth jackets and argyle sweaters.
Here's how I cover the rectangular boxes. Little fold-over pieces for the ends.
Then a wide piece, folded to fit inside and over the sides.
So it looks like this.
The square containers are from cracker boxes.
I centered the box on a full sheet of paper and traced around it.
Then drew lines all the way across, staying just inside the outline I traced,
because the paper box will have to fit inside. I made tabs to fold over and
glue to the adjacent sides.
I put the box together without glue to test the fit and trimmed the tabs so
that I could fold the paper down over the sides of the box.
I glued the paper to the outsides.
And there you have it; a pretty flowered divider!
Here's my vanity drawer, full of lovely little compartments!
I think I'll just admire them for awhile before I put everything back.
Val
This post is linked here:
Brag About It @ VMG206
Sew Darn Crafty @ Sew Many Ways
I love this idea and how you can make them in all different sizes! :)
ReplyDelete